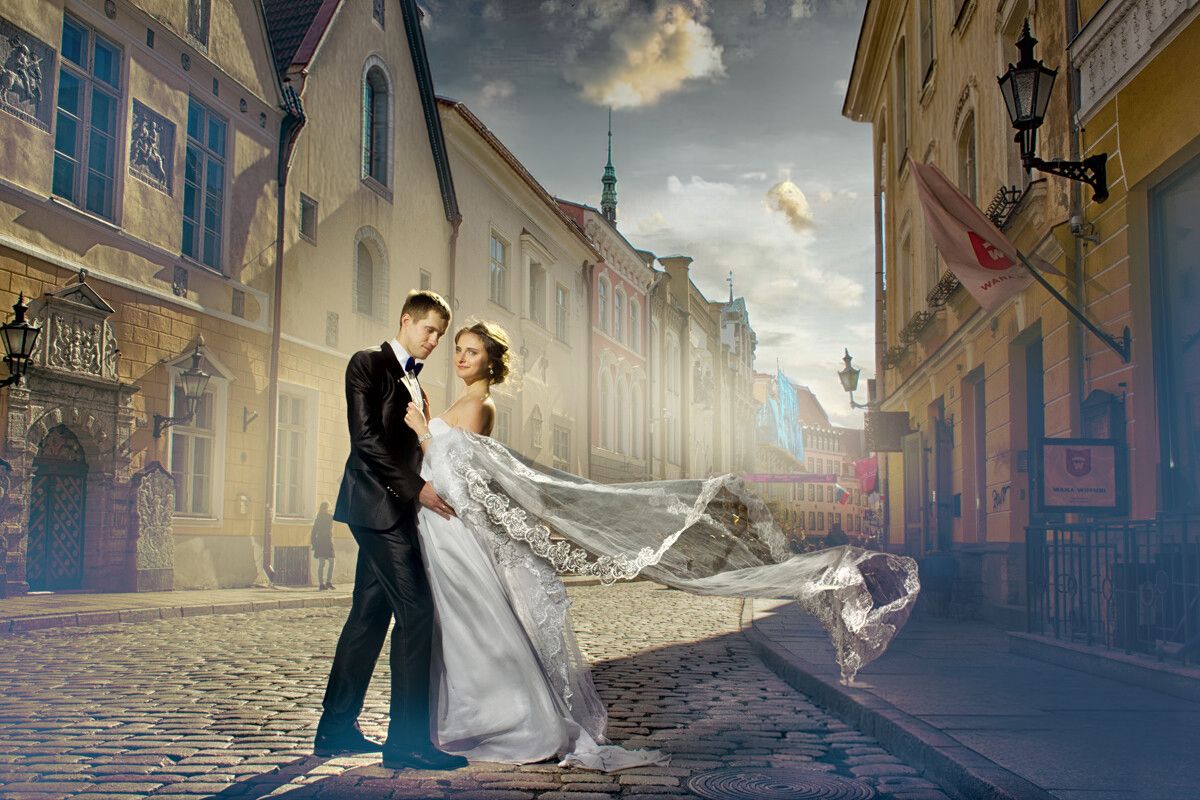
Video lesson "How to Add a Wedding Veil in Photoshop"
SKU 00007
$50.00
Video lesson "How to Add a Wedding Veil in Photoshop"
Product Details
✔ Full step-by-step editing workflow — 30 minutes
✔ 3 layered Photoshop files from this lesson
✔ 30-day money-back guarantee
Video Lesson: How to Add a Wedding Veil in Photoshop
Add a soft, transparent veil to any wedding photo — and turn a good portrait into a breathtaking one.
A flowing veil is one of the most romantic elements of a wedding image. It adds lightness, movement and a dreamy, painterly mood. But on the wedding day the veil is often missing, caught by the wind or simply not in the right place. In this lesson you will learn how to add it in Photoshop so it looks as if it was there during the shoot. This is not a preset. You see every layer, every step, and why it works.
Why the veil looks real
The secret is transparency. A real veil is never solid — you see the dress, the hair and the background through it. The lesson starts with the theory: how to make one part of an image transparent while keeping the fabric’s texture, folds and soft edges. Then we apply it step by step to several different wedding photographs.
Lesson Preview
Watch a short teaser showing the editing approach used in this lesson.
What you will learn
- how transparency works in Photoshop and how to make part of an image see-through
- how to keep the delicate texture and folds of the fabric
- how to blend the veil naturally with the hair, dress and background
- how to match the veil to the light and color of each photo
- how to add lightness, movement and a romantic, painterly mood to a wedding image
What's included
- 30-minute complete editing workflow video (MP4, 1080p)
- Theory of transparency + practice on several wedding photos
- 3 layered Photoshop files — the images from the lesson, with all layers and further explanations
- Step-by-step "Read Me First" guide
- Editing software: Adobe Photoshop
Open the Photoshop files and follow every step layer by layer.
Download Information
This product is a digital download only.
Your download links will appear right after purchase and will also be sent to your email. Links stay active for 6 months — please download and save the files to your computer.
Total download size: approximately 720 MB (video 598 MB + Photoshop files 121 MB).
Disk space needed after unzipping: approximately X MB.
Please download on a computer with a stable internet connection.
30-day money-back guarantee. Try it risk-free.
30-day money-back guarantee. Try it risk-free.
Want the complete system?
This lesson is one part of the Fine Art Photoshop Complete Course — 12 lessons, 20 layered PSD files and over 12 hours of real editing.
You May Also Like
For Wedding Photographers
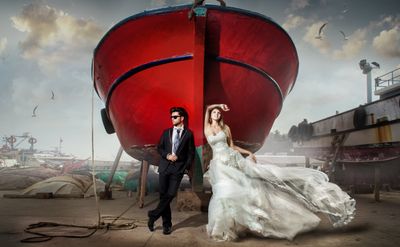
Wedding Bundle — 5 Lessons
Wedding Bundle — 5 Lessons
Downloadable fine art Photoshop wedding editing lessons with layered PSD files. Learn real depth, light, and elegant color — not presets. • 30-day money-back guarantee
$129.00
BLACK FRIDAY −50%
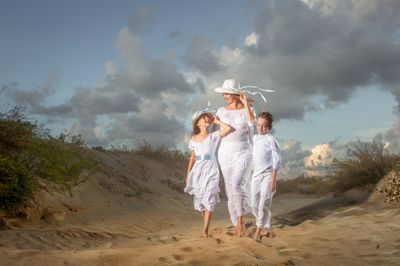
Complete Photoshop Editing Bundle — 12 Lessons
Complete Photoshop Editing Bundle — 12 Lessons
🔥 BLACK FRIDAY — $100 with code FINEART50 • 12 Photoshop video lessons • 20 layered PSD files • Brushes, actions & textures • Keep forever • 30-day money-back guarantee
$200.00
Display prices in:USD